A fractal is a mathematical function, and so when you compute it, the result is a set of numbers. To make it visible, those numbers have to be translated into colours. This is done via a palette. A palette is basically a table of colours; to paint a pixel, the result of the fractal function is looked up in the table, and the corresponding colour becomes the colour of the pixel.
This page describes how colours and palettes are used in FracTest.
A Mandelbrot-like fractal is a set of numbers which correspond to some criterion, such as remaining stable under the iteration of a given function. As such, each point is either inside or outside the set, and a "pure" colouring of the Mandelbrot set would only use two colours (traditionally black is used for points inside the set, and white for points outside). However, this is not very satisfactory, for a few reasons:
It's dull. Images with more complex colourings are much prettier.
It's misleading. The Mandelbrot set is a connected set (each point is
connected to every other point), but most of the connections are
thin filamentsFilament
Mu-Ency page on the filaments in the Mandelbrot set. (Mu-Ency)
http://mrob.com/pub/muency/filament.html. These
connections will generally not be visible on a two-colour image, because
there is generally little to no chance (except in special cases
like the real axis) of any pixel landing on one of these
thin filaments; so a two-colour image will show the satellites around
the main continent, but will not show their connections.
It's lacking information. The true shape of the Mandelbrot set is built around those thin filaments; but all of that structure is missing in a two-colour image.

All of these problems are fixed by more complex colouring schemes. The classic procedure is to colour pixels outside the set by how close they are to it, or some approximation of that. This results in very pretty pictures, and it also allows the locations of the filaments to be seen. The filaments themselves are still invisible, but the distinct colouring of the pixels very close to them allows their locations to be seen — and so the whole shape of the Mandelbrot set becomes visible.
Colouring is therefore important, both for aesthetic and for analytical purposes.
There are many different ways to colour a fractal such as the Mandelbrot set; these schemes are known as representation functions. FracTest supports a few representation functions; the simplest is that the inside of the set is coloured black, and the outside is coloured according to the escape time (the number of iterations of the function before a point escapes the fractal). This makes pleasing pictures, and also allows the full shape of the fractal to be seen.
Having chosen a representation function to colour with, we now have a numeric value to work with for each pixel. We therefore just need to translate these numbers to colours. The thing that makes it a little complicated is that the range of values (such as iteration counts) in an image might be anything from quite small (a dozen or so) to huge (tens of thousands or more). To resolve this, we use 2 stages to colour an image:
Palettes in FracTest operate by defining a set of key colours. Pixel values are then mapped to colours by interpolating between the key colours, as described in Palette Application.
FracTest supports multiple palette types, each of which has its own method of generating the key colours. The types currently available are:
RANDOMISE: key colours are randomly generated, under the control of user settings.
USER: key colours are edited by the user.
GRADIENT: uses two key colours to colour the entire range of pixel values in a single gradient.
At present, the RANDOMISE and USER palette types implement a sawtooth model, where a black colour is inserted between each pair of non-black colours, since this tends to produce pleasing results. The space between two colours, including blacks, is called a segment; many palette features are based on segments. The GRADIENT palette essentially has a single segment.
All palette types provide two ways to interpret the colour values, called "colour spaces":
HSV: colours are represented as Hue, Saturation, and Value. Value is a measure of brightness which is at a maximum when the colour is as bright as it can be without losing saturation.
HSL: colours are represented as Hue, Saturation, and Lightness, which is at a maximum when the colour is white. This model creates brighter, but potentially less saturated colours.
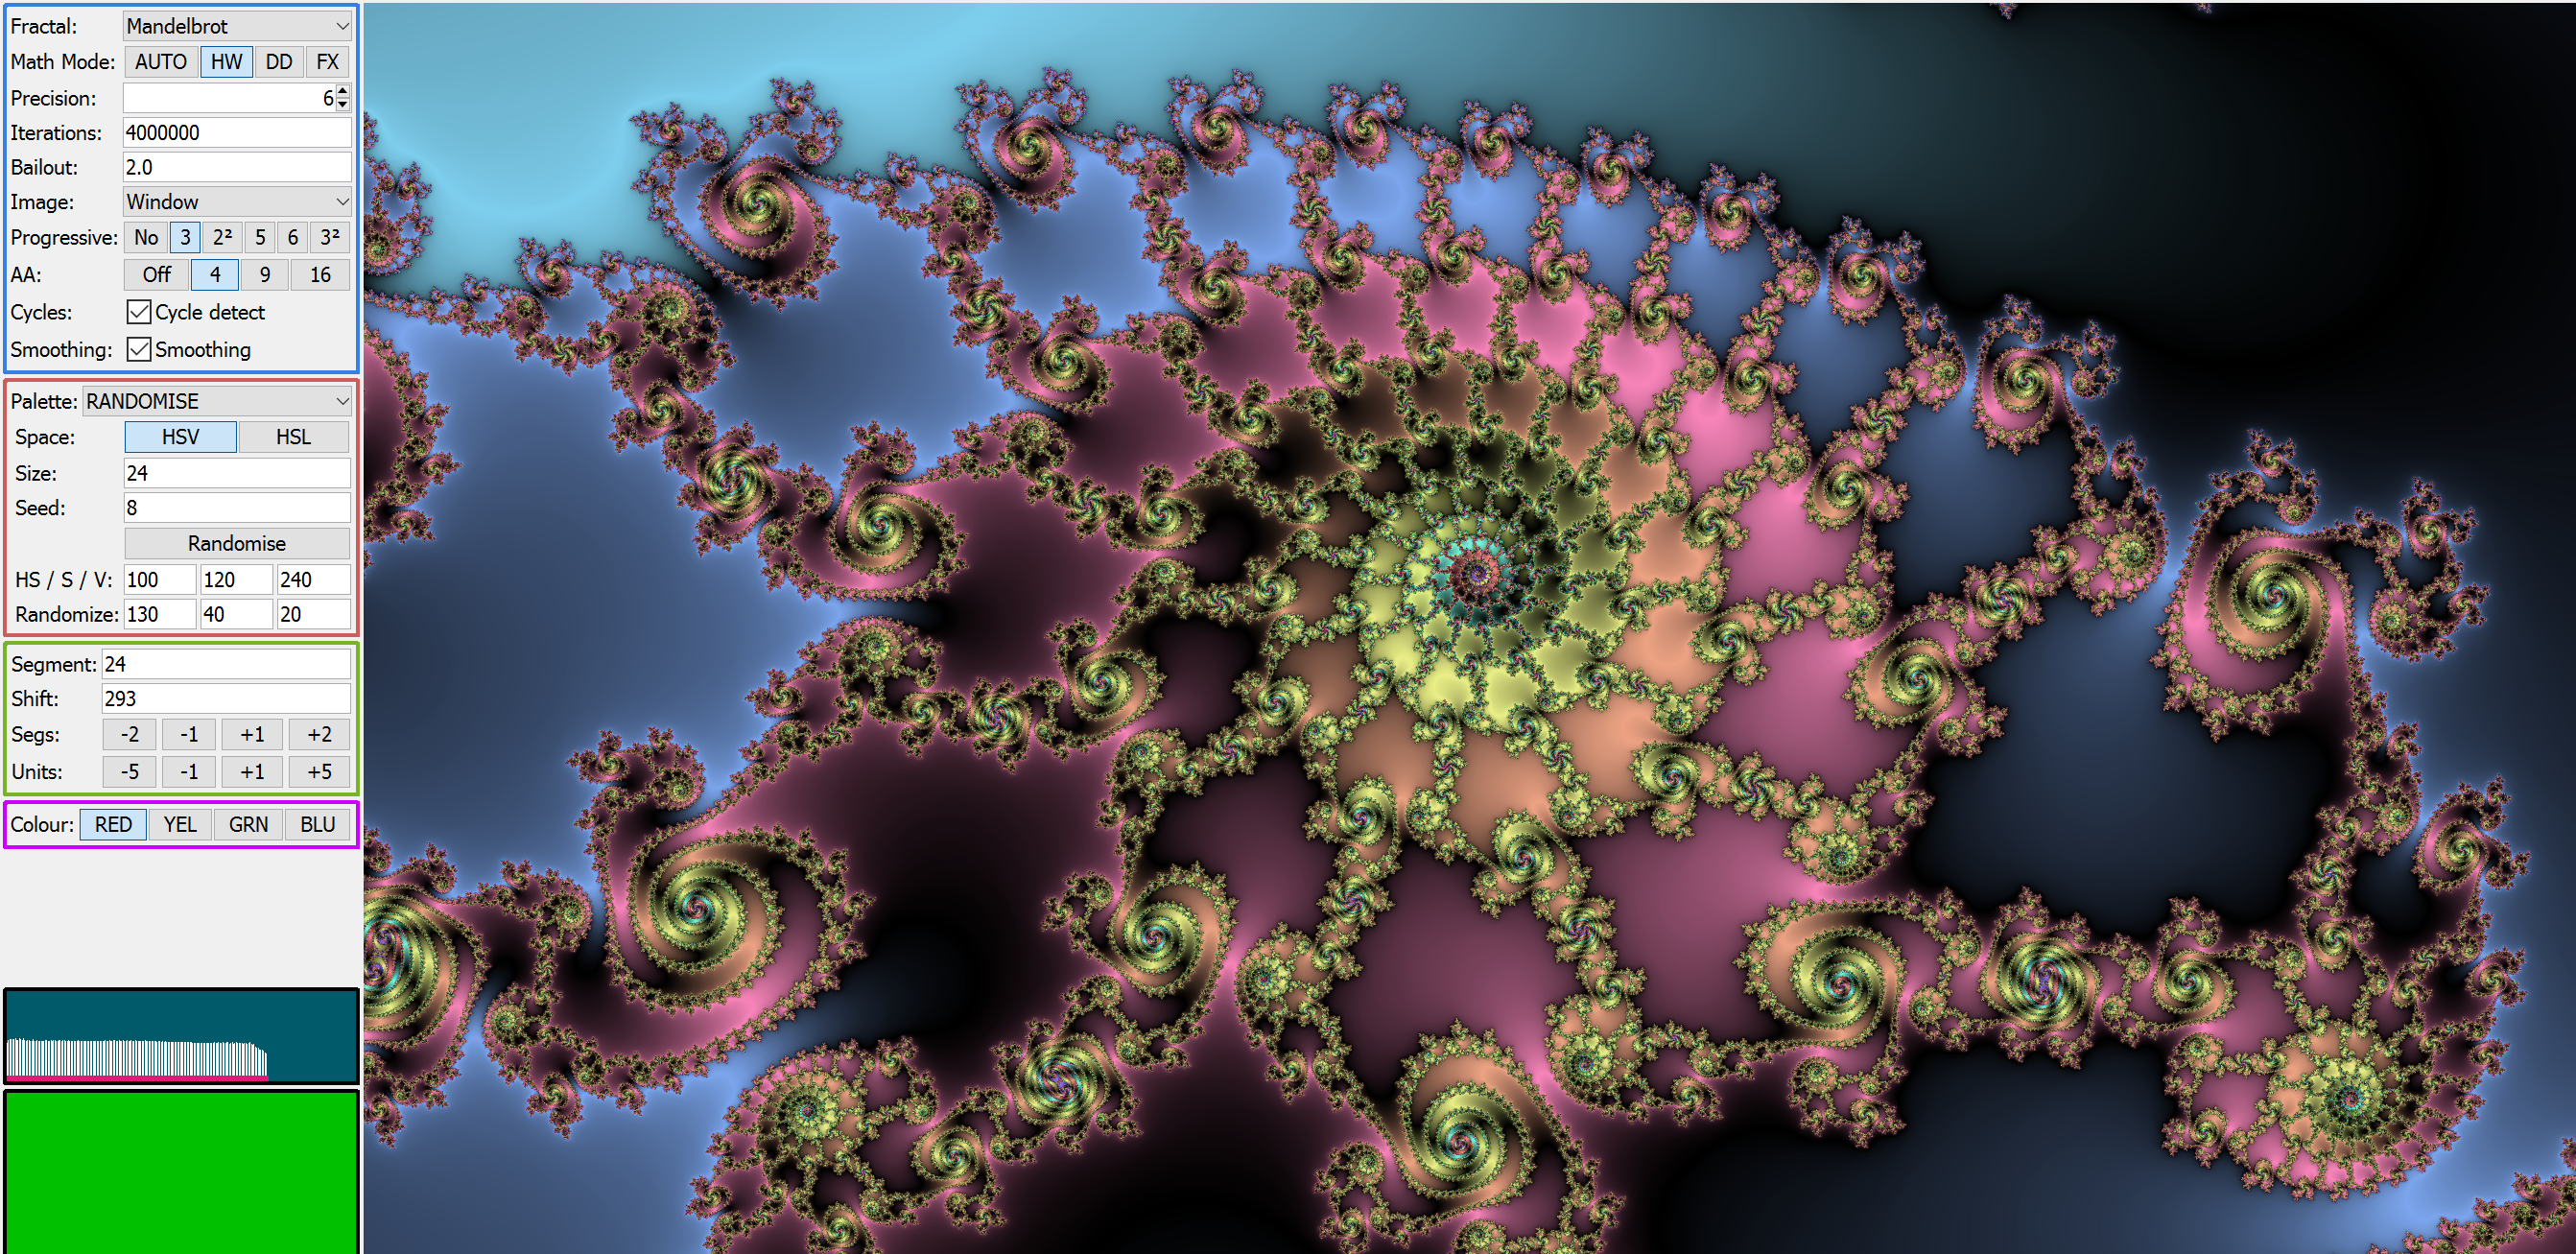
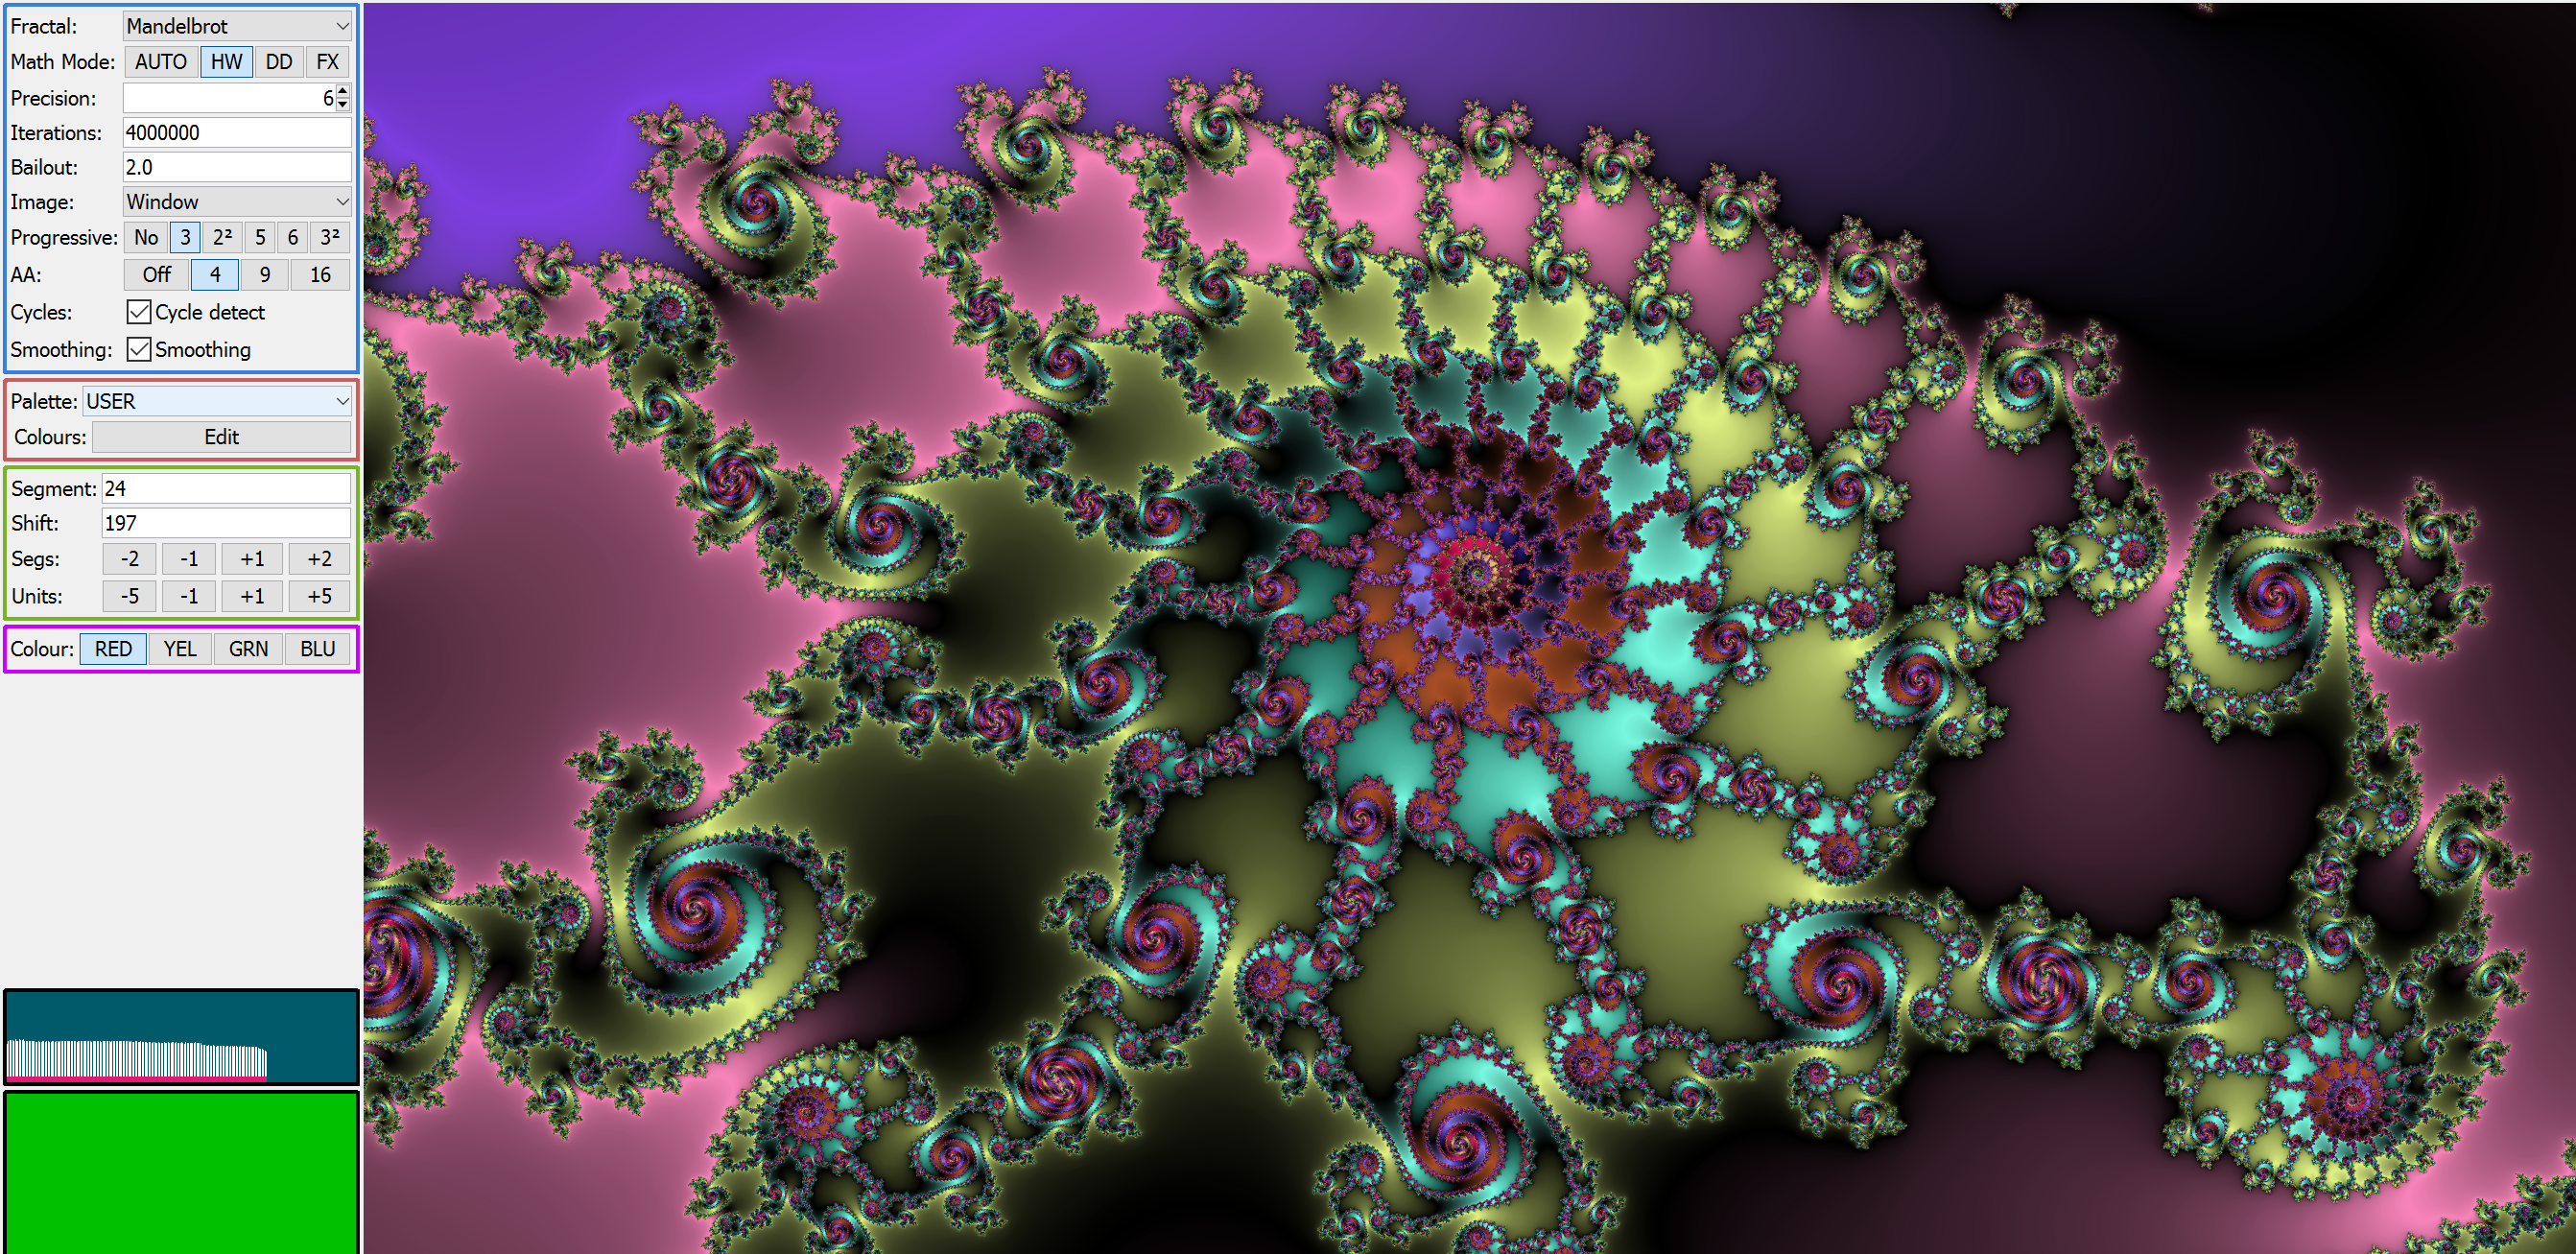
The palette control panel is used to configure the palette. The top control in this panel selects the palette type; the remaining contents of the panel depend on the type selected.
When the palette type is changed, if possible, the existing palette will be converted to the new type. In practice this is only possible when changing from a RANDOMISE to USER palette; in this case the colours of the palette are copied and made editable. This can be a very useful feature — you can use the random palettes to quickly switch through many colouring options, then when you find one that's approximately right, switch to USER to fine-tune the palette by editing the individual colours.
Just above the status bar is the palette display, which shows all the colours in the palette:

This illustrates the sawtooth nature of the palette. Pixels with a pixel value of zero will be coloured black; higher values yellow; then back to black; then green; etc.
The yellow bar under the palette shows where pixel values in the current fractal view start. So in this case, the smallest values in the view would be coloured dark purple. There is no indication of the highest value, since in theory they go to infinity.

The RANDOMISE palette controls are shown at right. After the palette type selector, the controls consist of:
| Space | sets the colour space of the palette; either HSV or HSL. |
| Size | sets the size of the palette, in segments. A segment is black-to-colour or colour-to-black; so the number of colours is half this size. It's therefore a good idea to set it to an even number. |
| Seed | The seed used to initialise the random number generator used in creating the colours. |
| Randomise | Click this to randomly generate a new seed, and re-create the palette based on that seed. This also causes an immediate re-render — this is handy to quickly experiment with colour mappings. |
| HS / S / V | Hue step, saturation, and value (this is L for lightness when the colour space is set to HSL). When generating the palette, the HS (hue step) value (in degrees, 0 - 360) is added to the hue for each new colour; the saturation and value (or lightness), 0 - 255, set the corresponding attributes of every colour. |
| Randomise | Sets the randomisation applied to HS, S and V (or L) for each colour. High values produce a more random palette. |
The RANDOMISE palette operates as follows:
A random number generator always produces the same numbers when started with a given seed; hence, the colours in a random palette are completely determined by the palette seed and the other parameters described above. When we save a random palette in a file, we only save the seed and these parameters — not the colours. The palette itself is re-generated each time the palette is loaded.

Creating a user palette is best done by flipping through random palettes until something nice appears, and then switching the palette type to USER. This will convert the palette to a USER palette, at which point all of its colours are editable.
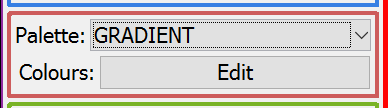
The controls for a user palette are shown at right; apart from the palette type selector, there is only an "Edit" button. This button brings up the palette editor.

Click on the colour swatch of the colour to edit that colour. The editor supports HSV and RGB modes; see the tabs at the top.
You can select a colour by clicking its index; or multiple colours by shift-clicking to extend a selection, or control-clicking to select individual colours.
Note that changes to the palette don't take effect until you start a
new computation.
The following controls are available:
|
|
Close the editor. Note that changes don't take effect until you start a new view computation. |
|
|
Pick a colour from the screen. Select a colour to replace (by clicking on its colour index, left column), then click this button to pick a colour from anywhere on the screen; that colour will replace the selected colour in the palette. If you have selected multiple colours, they will all be replaced. |
|
|
Add a colour to the palette. A new colour will be added in place of the first selected colour, or at the end of the palette if there is no selection. |
|
|
Remove the selected colours from the palette. Without a selection, removes the last colour to shorten the palette by 1. |
|
|
Move the selected colour or colours up one place in the palette. |
|
|
Move the selected colour or colours down one place in the palette. |
| Colour Space | Switches the USER palette between HSV and HSL modes. |
The GRADIENT palette is experimental at the moment. However, it may be useful for highlighting the edges of the Mandelbrot set.
Like USER, the palette controls consist of an "Edit" button which opens the palette editor. This works the same way as for USER, except that there are exactly two colours; the start and end colours for the gradient. The controls for adding and removing colours are not present.
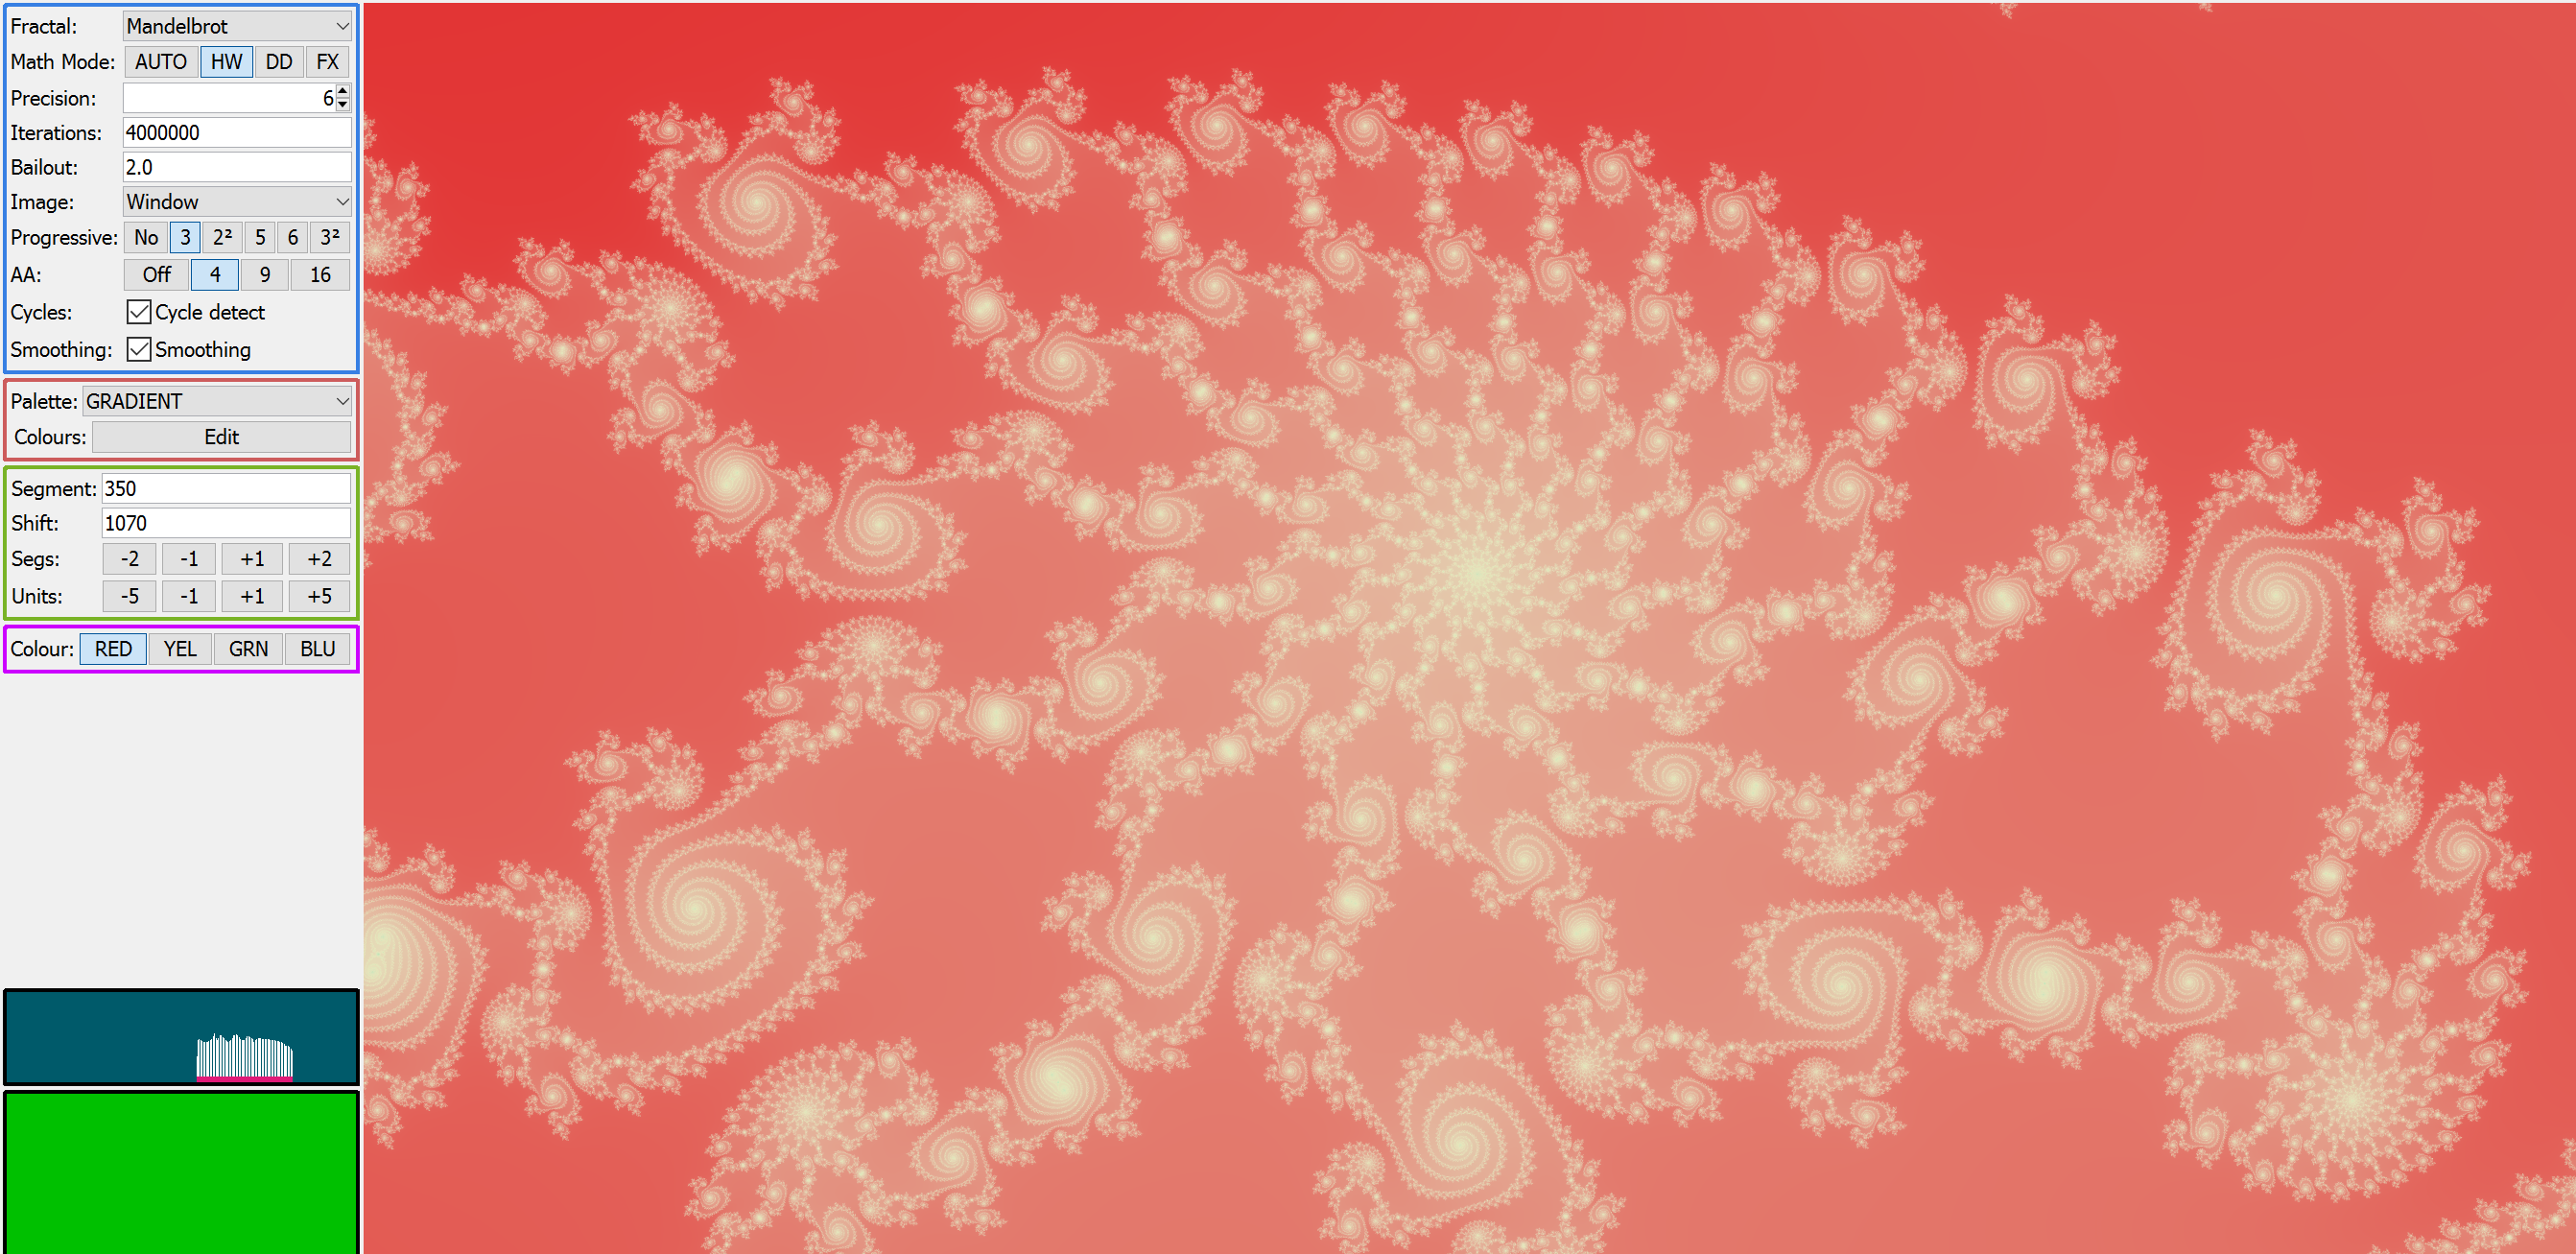
The palette application parameters behave a little differently in a GRADIENT palette. The segment size determines roughly how wide a range of pixel values the gradient is applied to; the shift determines the pixel value which is mapped to the first colour of the gradient. A good start might be to set the shift to the lowest pixel value in the view.
To resolve this, FracTest provides the palette application controls. These controls are independent of the palette itself, but configure how pixel values are mapped into the palette. The control panel is shown at right, and includes:
| Segment | Sets the size of a palette segment; in other words, how many counts are mapped into each segment of the palette. A segment is black-to-colour or colour-to-black; so with a segment size of 30, if a count of 100 is mapped to black, then 130 would be mapped to the next colour, 160 to black again, and so on. |
| Shift | An offset applied to the pixel value before mapping to the palette. |
| Segs | Convenience buttons to adjust the shift up and down by 2 or 1 segment sizes at a time. |
| Units | Convenience buttons to adjust the shift up and down by 5 or 1 counts at a time. |
The segment size is important to make the palette colours match well to the features in the image. In many areas, a value of 24 or 30 may work well; but in areas closer to the main body of the set, where pixel values change very rapidly, a larger value may be needed — thousands in some cases.
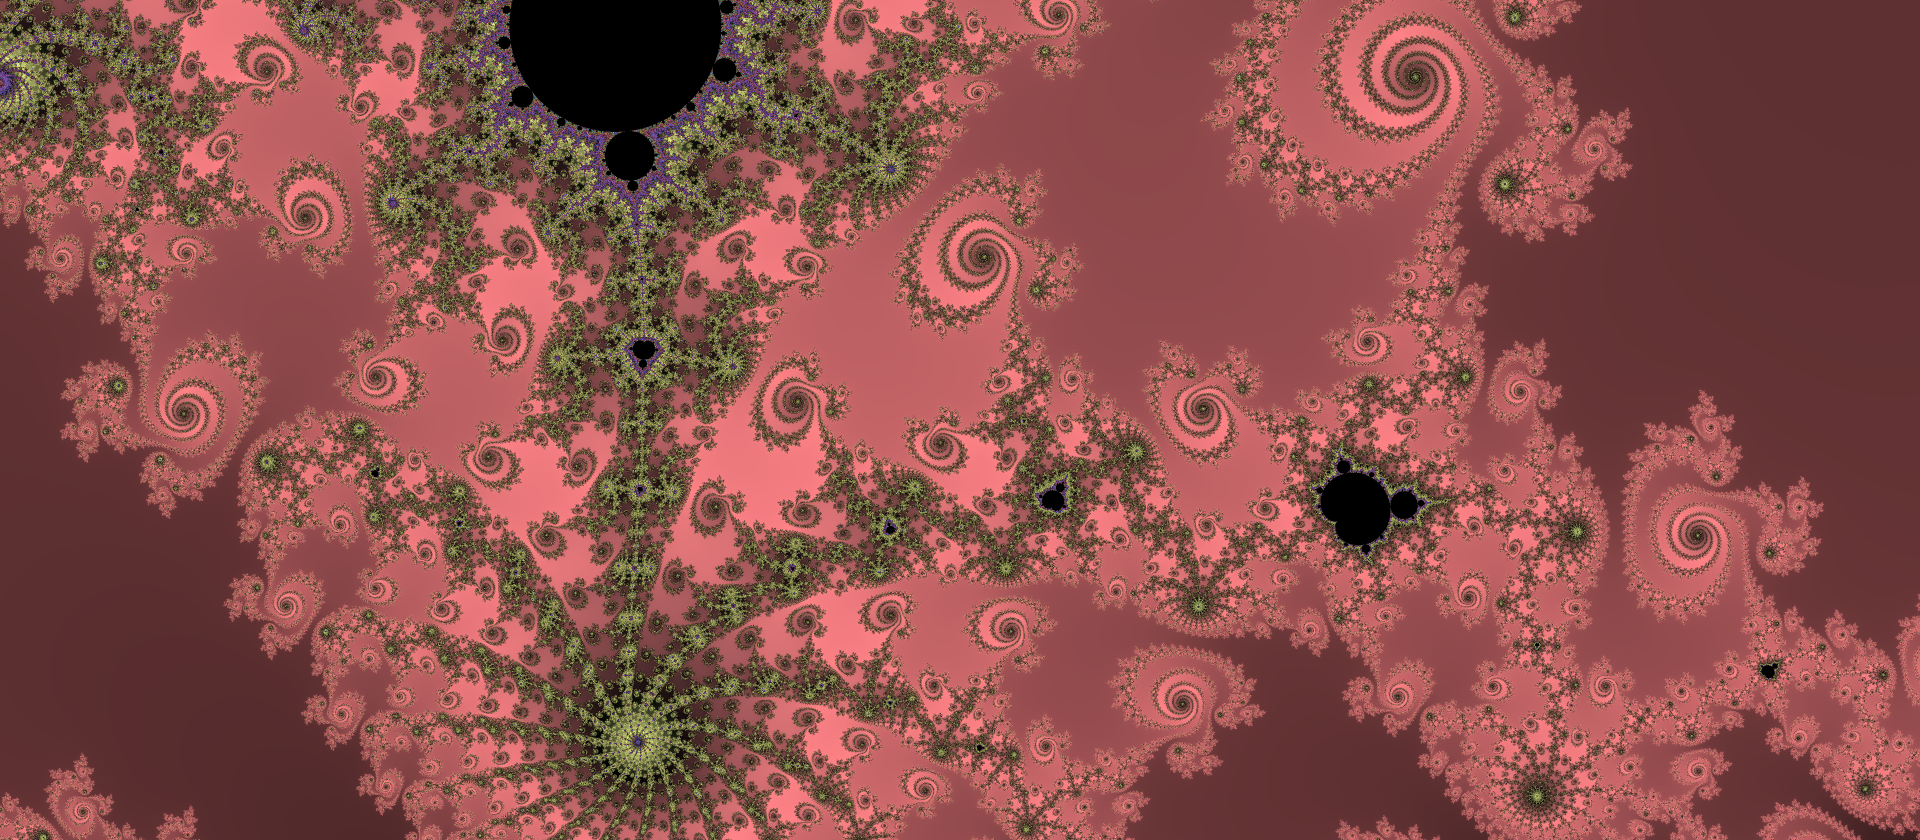
For example, the following image shows an area of rapidly-changing pixel values; you can see this in the "noise" around the bulb at the top:
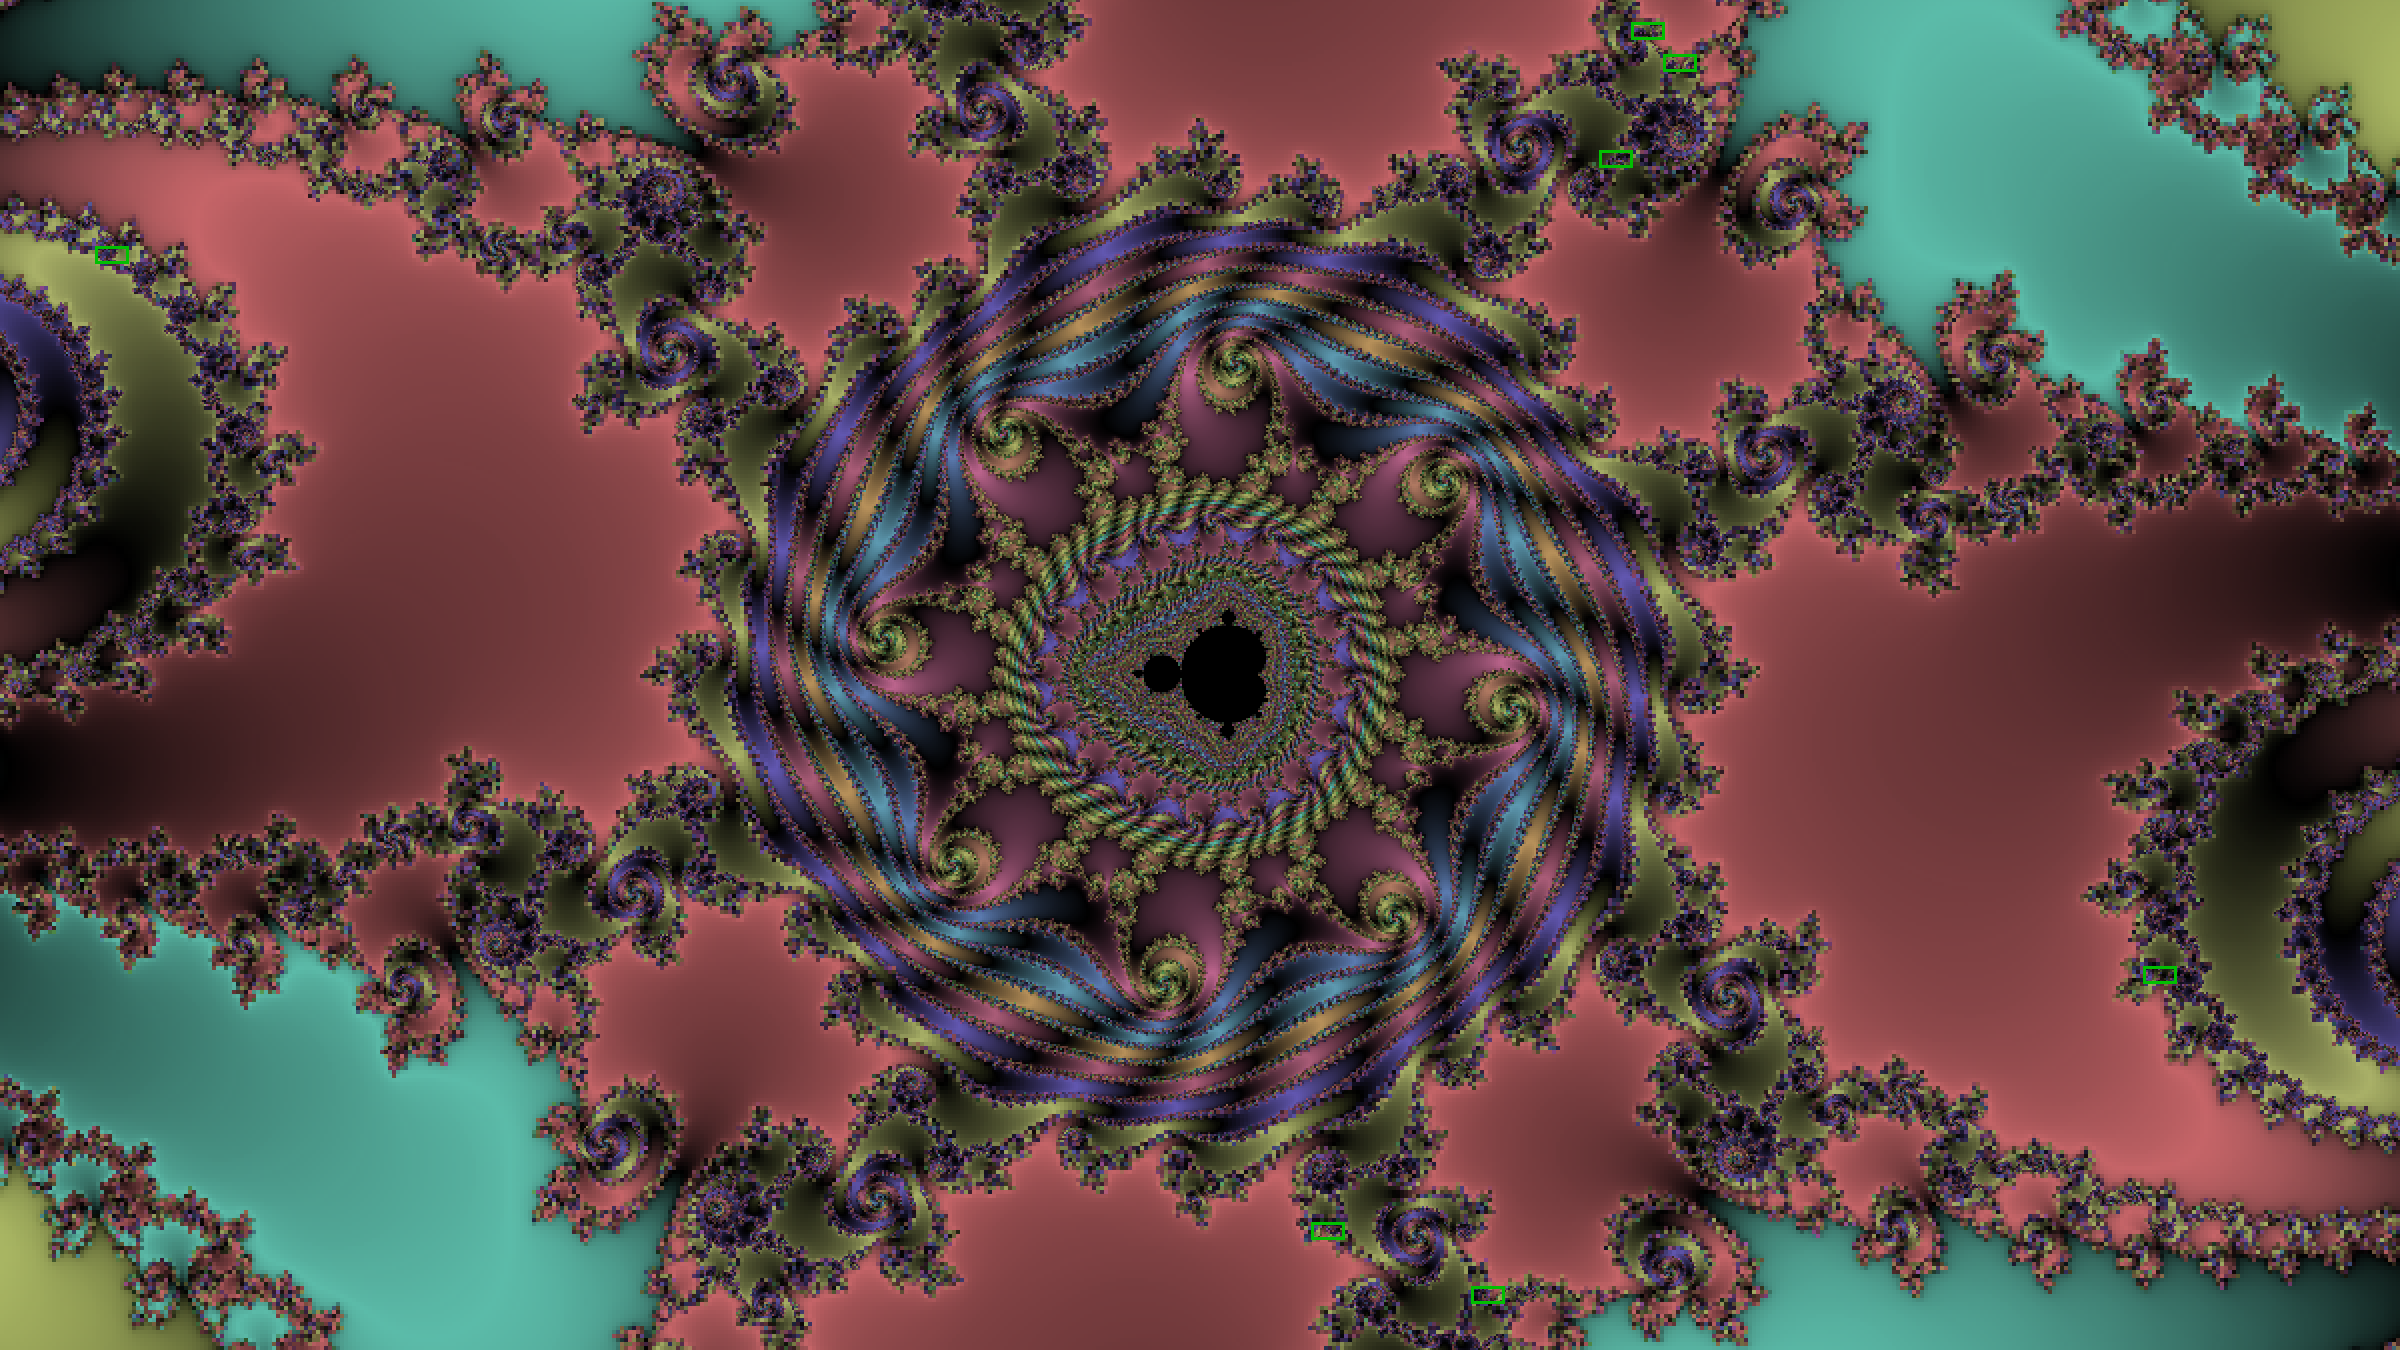
By changing the segment size from 24 to 240 we can distribute the colours more gradually:
Neither of these images is right or wrong; they are different ways of viewing the same thing. However, in some areas the "noise" effect can become too much, and in those cases increasing the segment size is definitely a good idea.
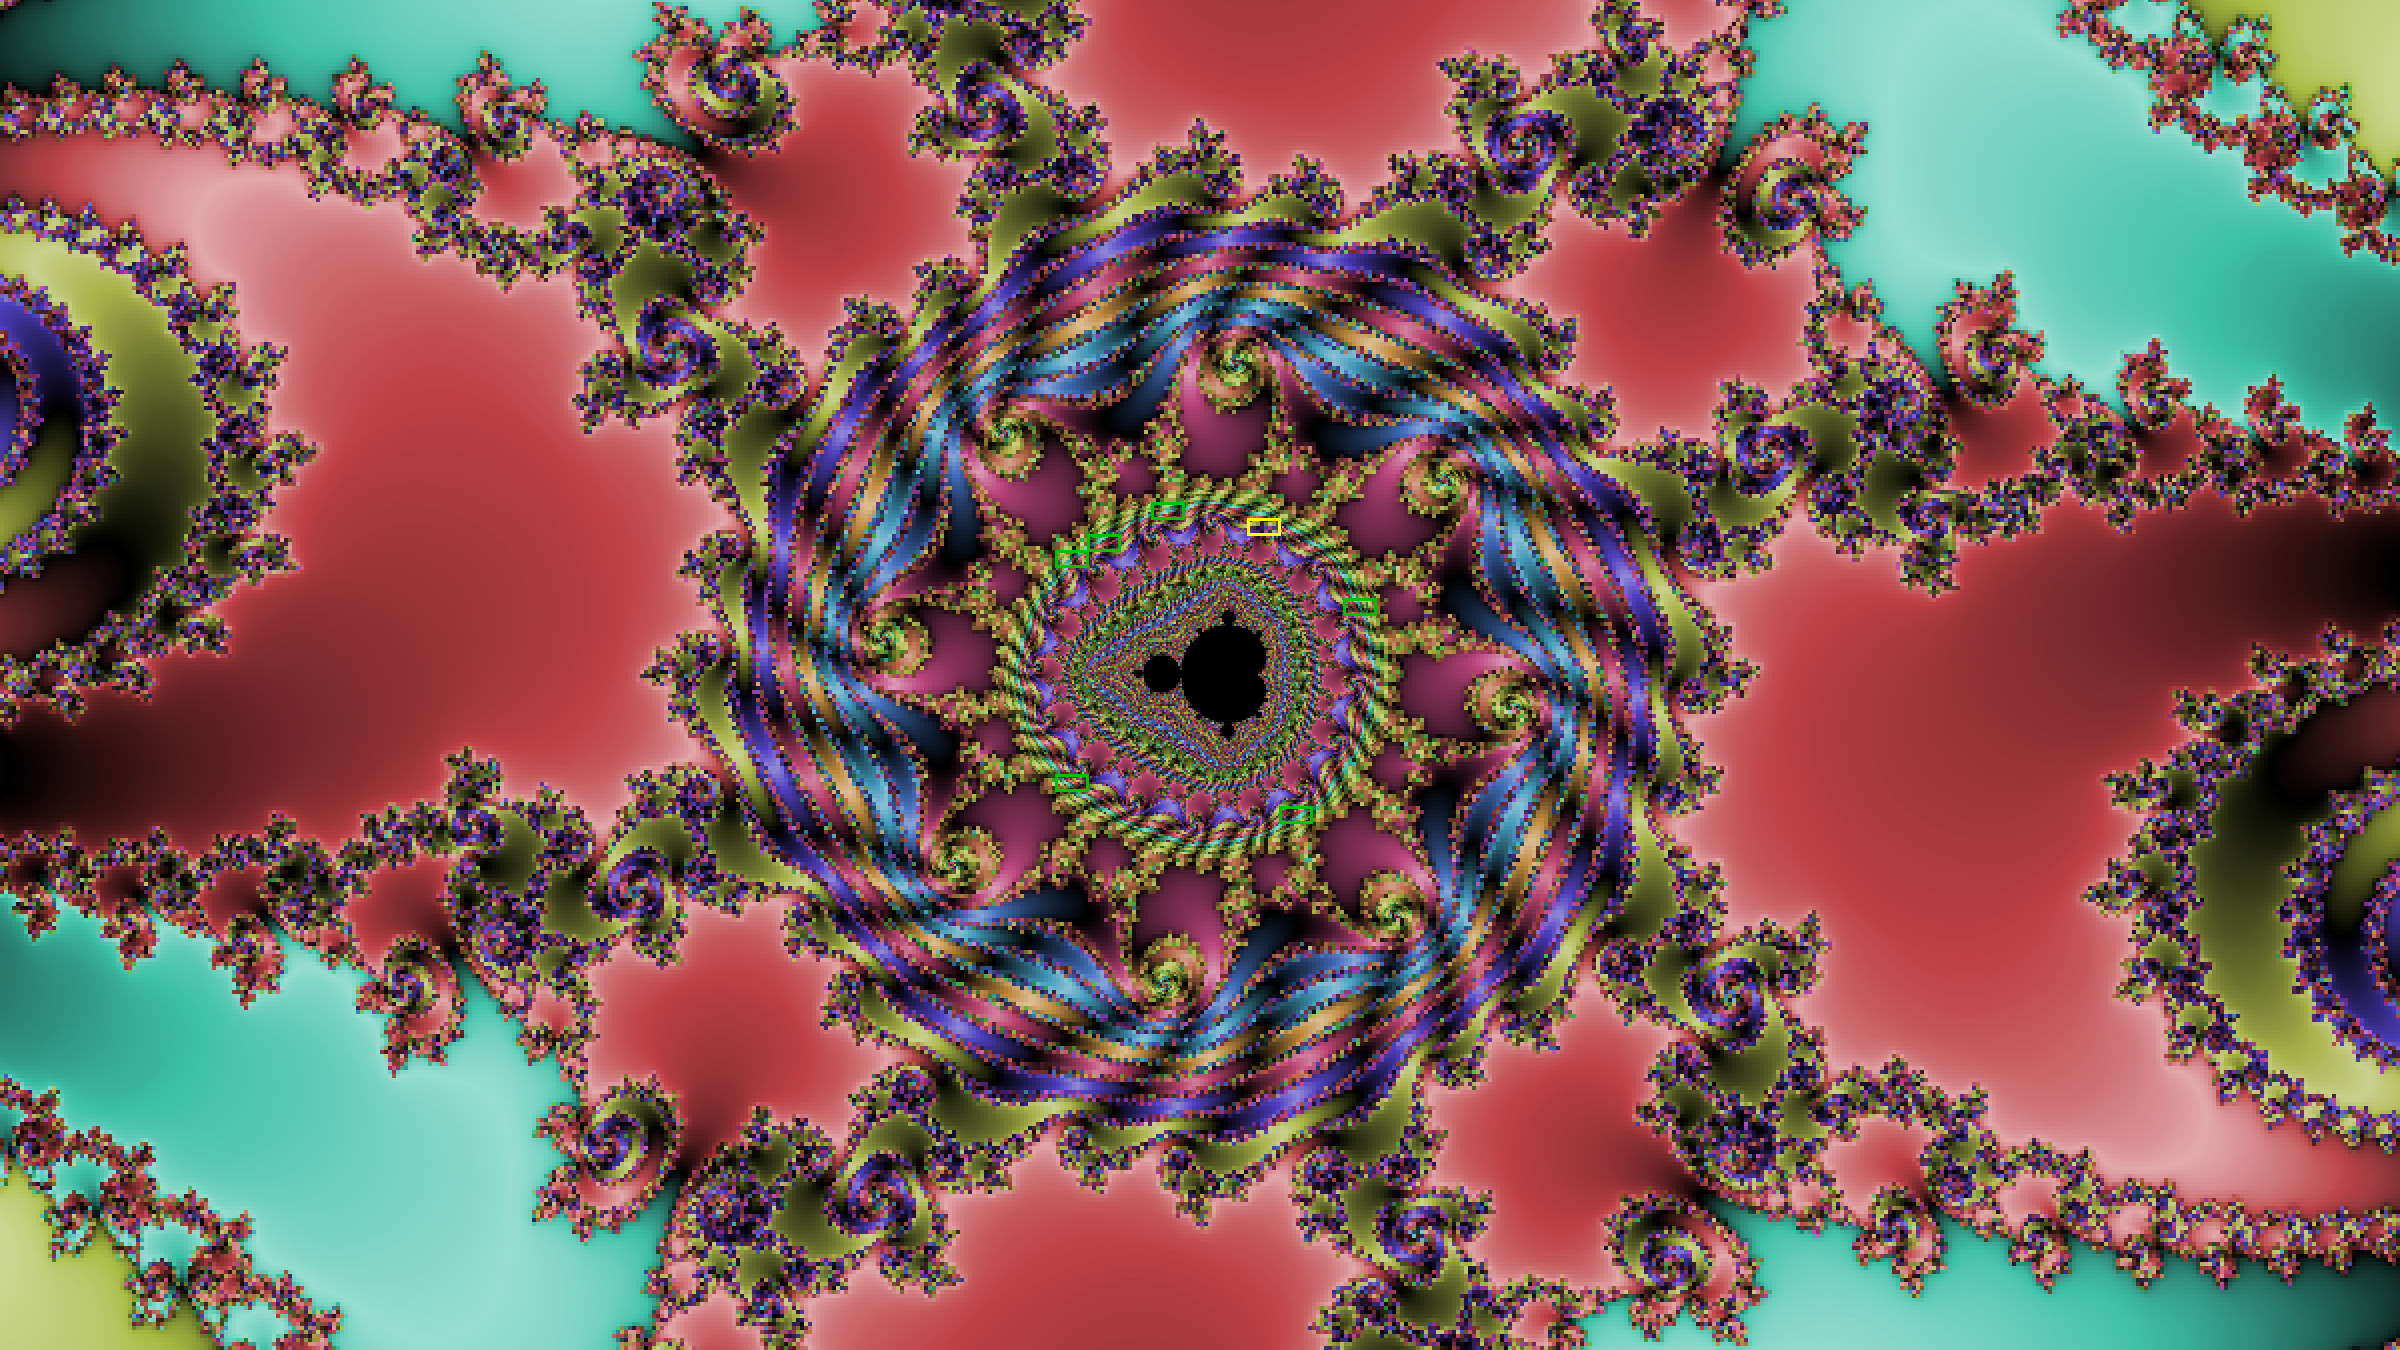
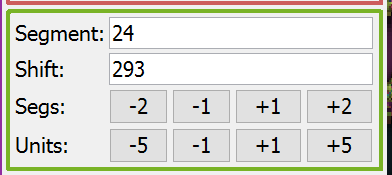
Fine-tuning the segment size to match the periods of counts in patterns of the image can produce a nice effect; then again, sometimes putting it slightly off can be good too. In the following image, the segment size has been adjusted to be the same as the difference in pixel values between repeated swirls of colour:

The shift parameter adjust which colours are applied to which features. Since a segment is black-to-colour or colour-to-black, a shift of two segments up or down will re-assign the colours without changing which features are dark and light. So, clicking the "Segs: +2" and "Segs: -2" buttons is a fast way to try out which colours work for which features.
Shifting up or down by 1 segment swaps light and dark, which can have a dramatic effect. A mellow, light and airy image can suddenly become dark and sinister. These kinds of effects can be adjusted with smaller shifts, using the "Units: +5" and "Units: +5" buttons, or even +1 and -1.
Of course, you can always just type in a shift value manually.
FracTest's general-purpose file format for saving stuff is the PNG file. Palettes are no exception. If you have a saved image with nice colours, or just a PNG file you have saved to store a palette, you can load it with the menu command "Palette" → "Load Palette".
The palette application parameters are not affected by loading a palette, since they are more to do with the fractal view, rather than the palette itself. However, having loaded a palette, you will likely want to align the palette's colours with the features of the fractal by adjusting the palette shift to get a good effect.